
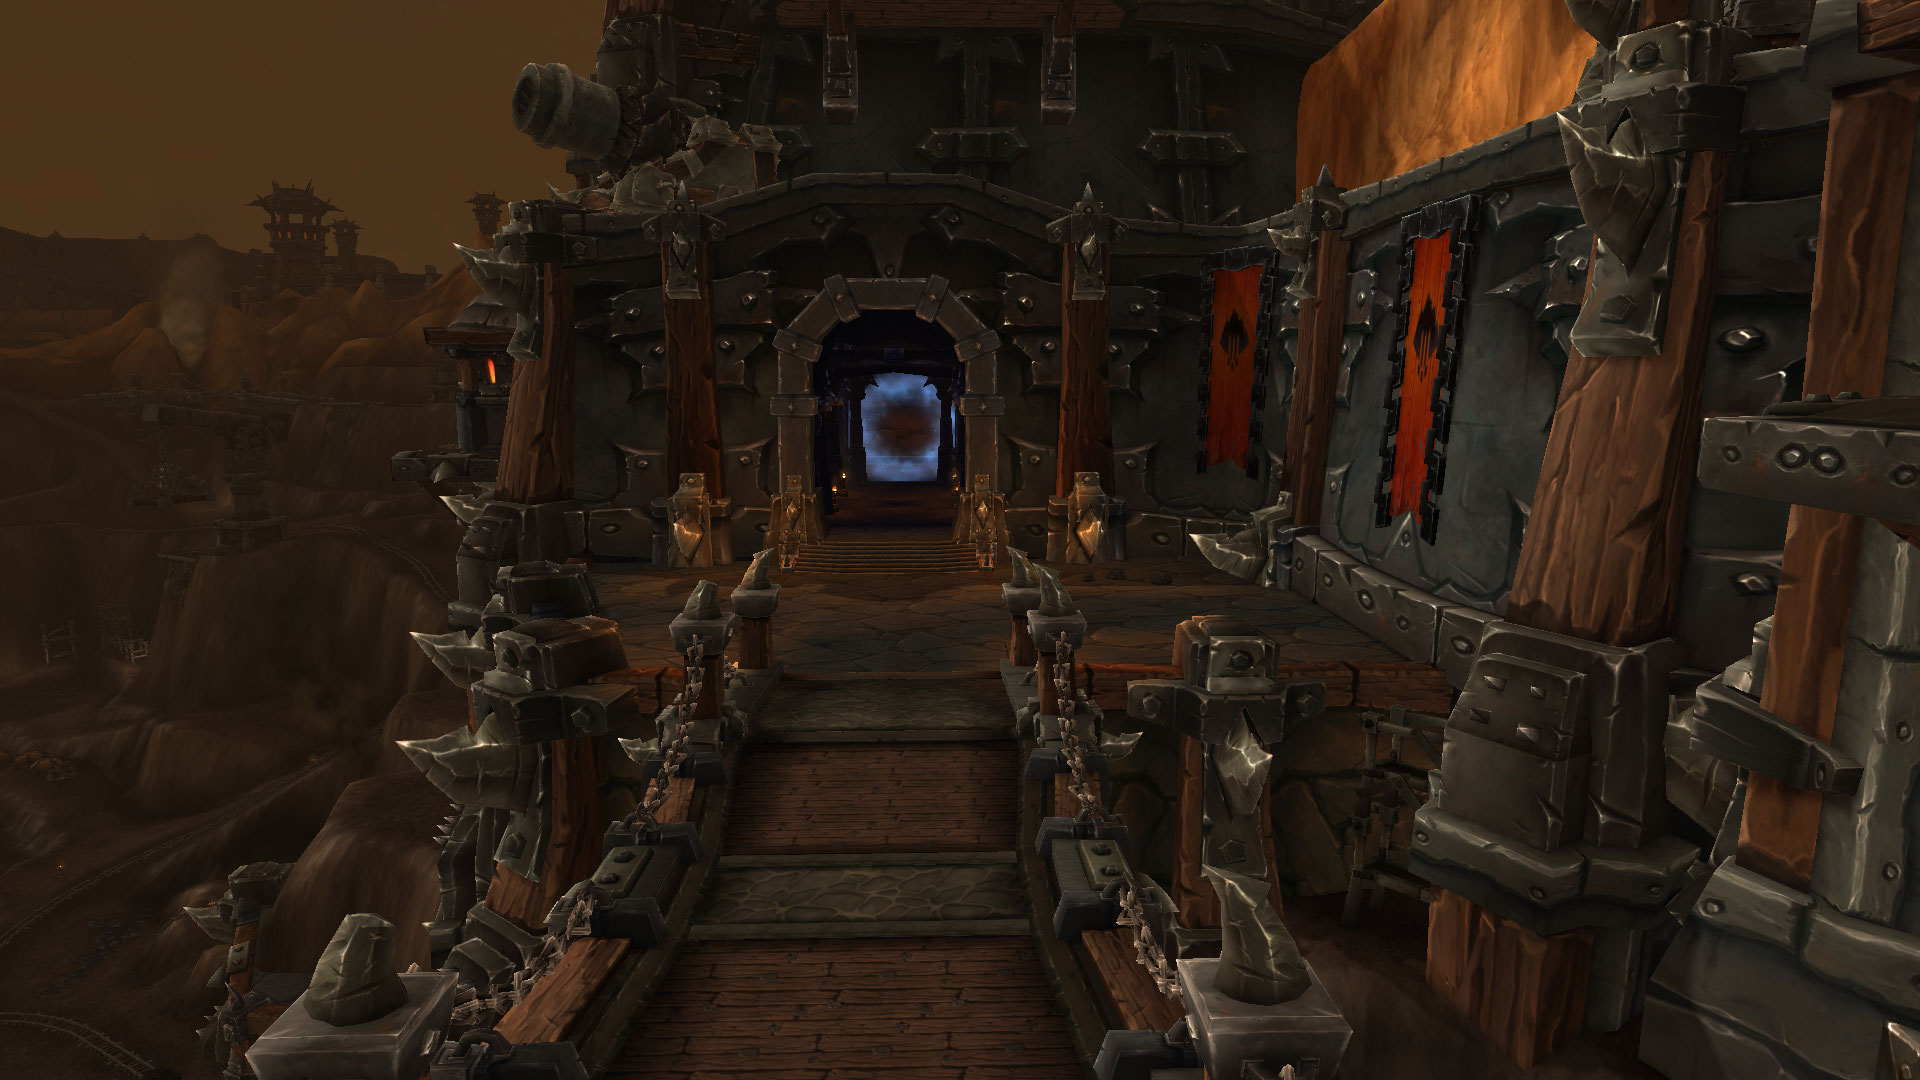
Hans’gar and Franzok fight side by side in the Foundry’s stamping hall, and the room itself becomes part of the fight. Machines, charging bosses and fire zones demand timing and coordination in a way that few encounters had before. This guide explains what makes the fight unique, how to prepare, which mechanics to watch, which advanced strategies help and which practices lead to success.
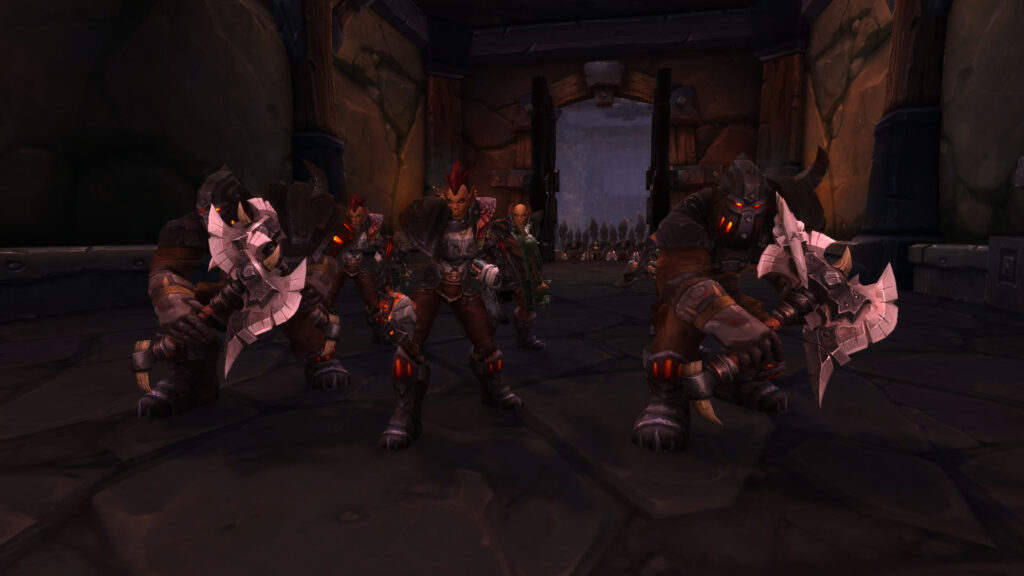
What makes the fight unique?
Two bosses at once, environmental hazards and a requirement for precise teamwork.
The dual-boss setup forces the raid to track two sets of abilities at the same time. Both bosses can hurt an unprepared group very quickly, so positioning matters from the first second. A charging attack that can crush players adds to the complexity, testing both awareness and communication.
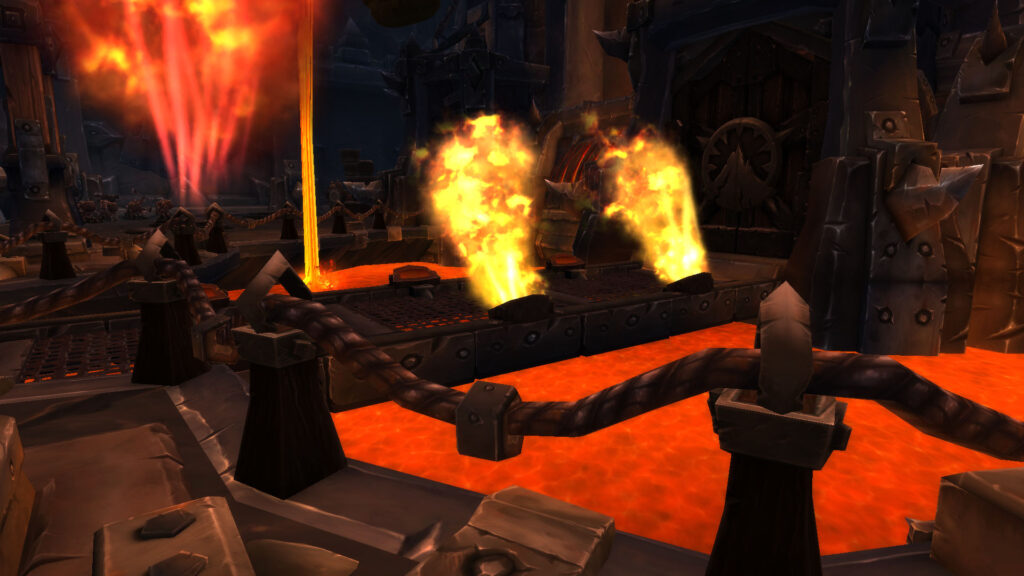
The environment is also part of the encounter. Machinery in the room can be used to the raid’s advantage, and the fight rewards groups that think about cooldowns and positioning together. The difficulty rises as the fight goes on, so the raid must adapt quickly, which keeps the encounter lively from start to finish.
How can players prepare?
Learn the boss abilities, optimize gear and practice communication.
Hans’gar focuses on melee attacks and a fire ability known as Searing Plates, while Franzok brings heavy hits of his own. Knowing what each does allows you to stand in the right place and avoid damage. Gear with stats that improve survival and damage helps, and the team should settle on responsibilities before the pull.
- Review the mechanics and plan each phase.
- Optimize your gear for survival and damage.
- Agree on roles with your raid team.
- Practice in a controlled setting to refine timing.
Which mechanics matter most?
Searing Plates, heavy melee strikes and the charge across the room.
Searing Plates puts fire on the ground that players must leave quickly. Heavy strikes need defensive support, and the charge requires everyone to watch the path the bosses take and to stay out of it. Each mechanic tests individual awareness and raid coordination at once.
| Mechanic | Description | Answer | Raid impact |
|---|---|---|---|
| Searing Plates | Fire zones that damage over time | Move out quickly | Heavy damage if ignored |
| Heavy strikes | Large single-target hits | Use defensives and healing | Can kill unprepared players |
| Charge | Bosses run across the room | Stay out of the path | Instant death if caught |
Which advanced strategies help?
Plan cooldowns, use positioning tactics and coordinate with healers.
Use defensive cooldowns at the moments when damage peaks, such as during the heaviest strikes. Grouping up during certain phases makes healing easier, while spreading out at others limits the damage from area effects. Constant calls from raid members keep everyone aware of what is happening, so no one runs into a fire zone or a charge path.
What are the best practices?
Thorough preparation, effective communication and continuous practice.
Before attempting the encounter, review the mechanics, optimize gear and assign roles. During the fight, call out mechanics and coordinate movement. Practice allows the raid to refine its strategy and adapt more easily to the challenges, and every attempt provides information that can be used for the next.
Frequently Asked Questions
Which roles does the fight need?
Tanks to manage the bosses, healers to keep the raid up and damage dealers to maximize output.
How can I improve my positioning?
Understand the mechanics, anticipate the bosses’ movements and talk with your team.
What if my raid is struggling?
Review the mechanics together, discuss what is not working and practice the difficult phases.